Nearly 6 pounds of sticky, spicy, molasses-laden dough…it seemed like an awful lot when I first embarked on my Gingerbread House project last week. It still seemed like an awful lot 4 days later when I finally completed my edible dwelling, affixing the final gumdrop with royal icing.
This one definitely warrants two posts. Ho-ly cow, it takes a lot of work to build a gingerbread house from scratch! I don’t know what it is about labor intensive projects like these, I find myself drawn to the challenge. Baking, building, decorating – and, for my kids, playing – that’s the breadth of fun you get with a good old-fashioned homemade gingerbread house. Crazy-busy as I am this month, this was one holiday tradition I couldn’t pass up this year.
The last time I’d made a gingerbread house I was 13 years old, enrolled in a kids’ cooking workshop. I spent all afternoon painstakingly constructing and decorating my masterpiece only to have it swarmed by ants later that night, brought on by a rainstorm. So sad, right? Twenty-five years later, I was ready for a little redemption!
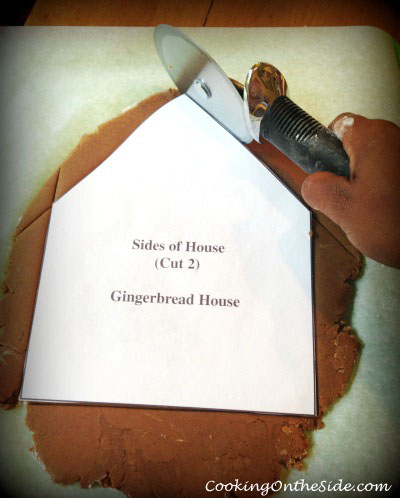
I found a detailed set of gingerbread house directions – complete with printable templates and decorating tips – on the McCormick website.
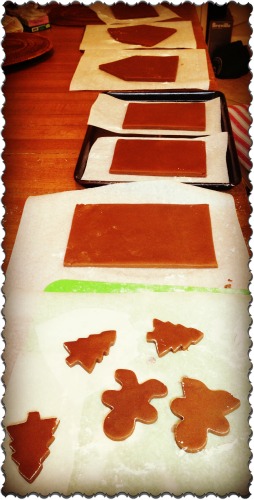
Front walls, side walls, roof pieces, trees and gingerbread kids took over my kitchen table for an entire morning. Pretty much every bit of that 6 pounds of dough made its way into the oven.

Baking the pieces was the easy part. Things from this point forward were a bit tense, as I attempted to “glue” massive, rather heavy, cookies together three-dimensionally with royal icing. I’m no mechanical engineer, but this all seemed rather…dicey. But I pressed on, piping out batch after batch of royal icing, propping up the walls of my cookie structure with drinking glasses and chopsticks. For the most part, things actually held up well. Except for…
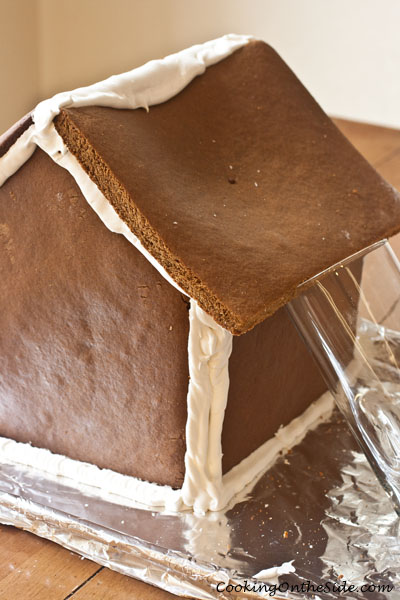
…some caving. One roof panel probably could have stood to firm up in the oven for another 5 minutes. It wound up being a little too malleable and it buckled. The directions said to wait at least 3 hours before decorating so I had to patiently (anxiously) cross my fingers and hope that the whole thing didn’t collapse before I had the chance to put on all the candy I’d bought to bedazzle this thing.
So how did the final gingerbread villa turn out? Stay tuned for Part 2!




Well, it’s started off beautifully! I have never done one from scratch, I always buy those kits from Target…maybe next year 🙂
I’ll tell you what, I *totally* understand why the kits are big business! 🙂
Look at that! Well, I’m impressed. I’ve decorated houses once and just figured people people bought them. How very wrong I was! 🙂
Can’t wait to see how you decorated it!
so cool! My daughter will love to attempt this
She’s just the right age to really get into a project like this. 🙂
Wow, you are ambitious! I can’t wait to see how it turned out–it’s looking good so far!
You are a brave, brave person, Kathy. Just working with that amount of dough would have my eyes goggling out of my head!
Wow, I’m super impressed, I can’t wait to see the finished house!
Oh building gingerbread houses is so much FUN!!! Can’t wait to see what you do with it next 🙂
I have always wanted to make a gingerbread house but am absolutely struck with fear and overwhelmed with the amount of work it appears to take.
That being said high five to you for having the patience and ability 🙂
I’ve never made a gingerbread house from scratch so I applaud you for all the effort! I’m sure your kids appreciate it!