I’ll admit that the idea for these Sweetheart Brownies came during a gym workout. My mind should have been in the moment, focused on following the Zumba teacher’s tricky dance moves, but all I could think about was can you coat brownies in candy melts? We all have our own way of focusing!
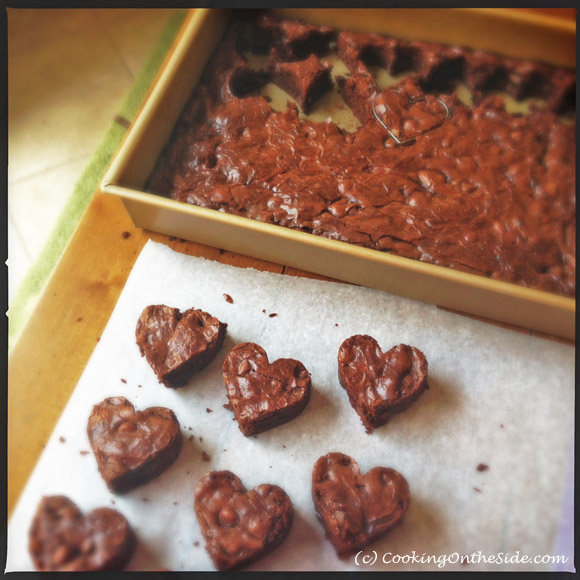
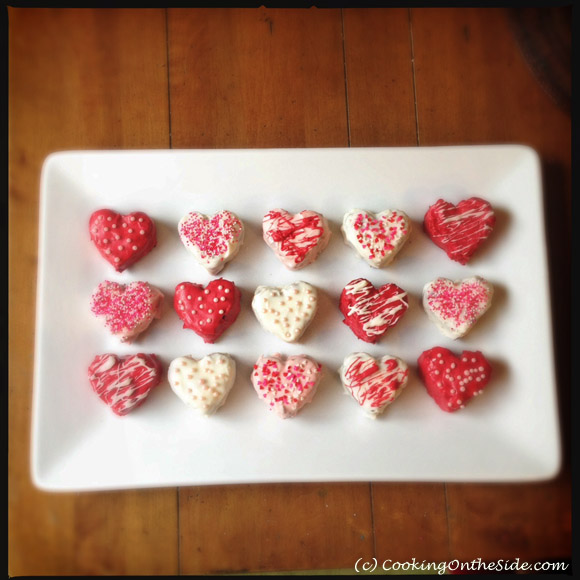
I instagrammed the photo above during the Super Bowl last Sunday. With half an eye on the game, (I’m an incurable multitasker), I gave the Valentine’s Day brownie idea a try, with some rather sweet results.
These were actually very easy and straightforward, though they did take the better part of the afternoon to assemble. Fortunately, they’re also fun. 🙂 I baked a batch of the Best Fudge Brownies Ever (they truly are!), let them chill for a bit, then punched out a bunch of little hearts.
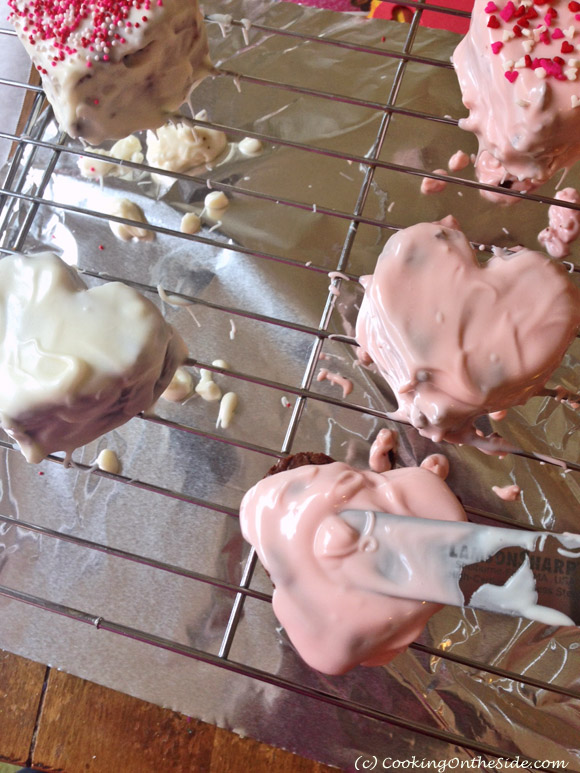
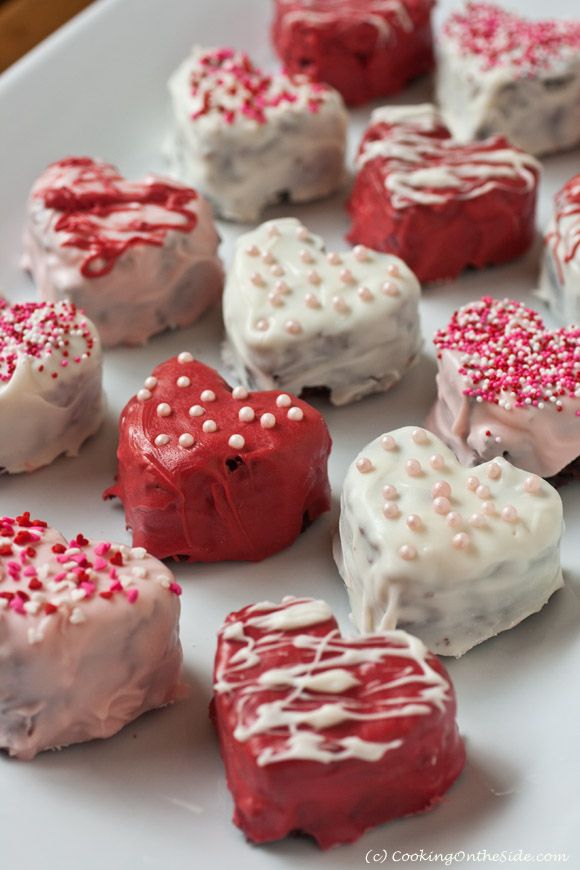
I’d originally envisioned dipping the brownie hearts in candy melts but it became clear rather quickly that dipping would cause the brownies to break apart. So I pulled out my trusty offset spatula (a butter knife would also work) and spread the melted candy over the brownies, like I was frosting a cake. It took some diligence to blanket the brownies evenly, but in the end I think they came out rather festive.
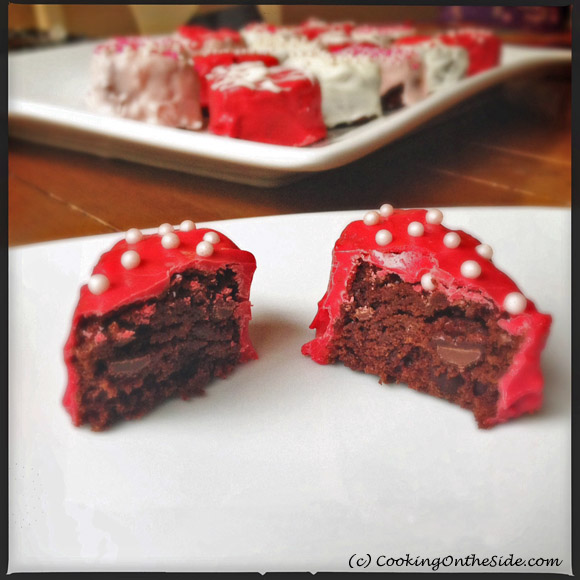
My husband, kids and I each indulged in one of these brownie bon bons, then I immediately packed up the rest to share with the teachers at our preschool the next morning. They felt the valentine love!
Sweetheart Brownies
Prep time: 45 minutes | Cook time: 0 minutes | Total time: 45 minutes
Yield: 20 brownies
INGREDIENTS:
- 1 (13″x9″) pan baked brownies (I recommend the Best Fudge Brownies Ever!)
- 1 (12-ounce) package candy melts, such as Wilton’s*
- Sprinkles
DIRECTIONS:
- With a heart-shaped metal cookie cutter, punch out heart shapes from the pan of brownies. You may want to wash the cutter after every few shapes to prevent the brownies from sticking to it. Save the brownie scraps for snacking or use them as a sweet topping for ice cream.
- Set a rack over a baking sheet or piece of aluminum foil and arrange the brownie shapes on top of the rack.
- Melt the candy melts according to the package directions – you’ll want a very smooth, almost pourable consistency.
- For each brownie, pour a few tablespoons of melted candy over the top and smooth it into an even coat around the top and sides with an offset spatula or butter knife. Spread on more candy as needed to coat the top and sides completely.
- Decorate the top of each brownie with sprinkles.
- The brownies are best served the same day they are made, but they’ll stay fresh in an airtight container at room temperature for 1 to 2 days.
* You can also try this with melted white chocolate, however it’s been my experience that white chocolate can be a bit tricky to melt successfully. If you do go with white chocolate, melt it slowly – it seizes up if it gets too hot.
These are adorable! But the question is, what did you do with the leftover brownie after cutting out the heart shapes? That would be my weakness, I’d eat all the little leftover bits. 🙂
Ummmm…I’m afraid I’m not aware of any these leftover bits of which you speak??! Lol 🙂
Always on the lookout for new ways to use my cookie cutters! Pinning this one for sure!
I can just imagine how amazing yours will look, Callye!!
What a terrific idea for a cute bite-sized brownie!
Love the little hearts! They are so fun!
I’m so glad I’m not the only one who spends her workouts thinking about food. You definitely have some willpower to stop at one–they look so good, I think I’d eat at least a few more! 😉
What a fun and cute idea Kathy–love these!
Oh yes… I want these so badly! They look awesome!
so cute Kathy! Happy Valentines Day
I remember these on instagram. They are so cute!!
These are so sweet and simple! My kids would LOVE them!
Yum and cute! I love these. I’m pretty sure I’d eat them by the handful.
Such a cute idea!
These truly are the best homemade brownies EVER! Try them. You won’t be disappointed!